How to Temper Chocolate: A Complete Guide for Pastry-Like Results

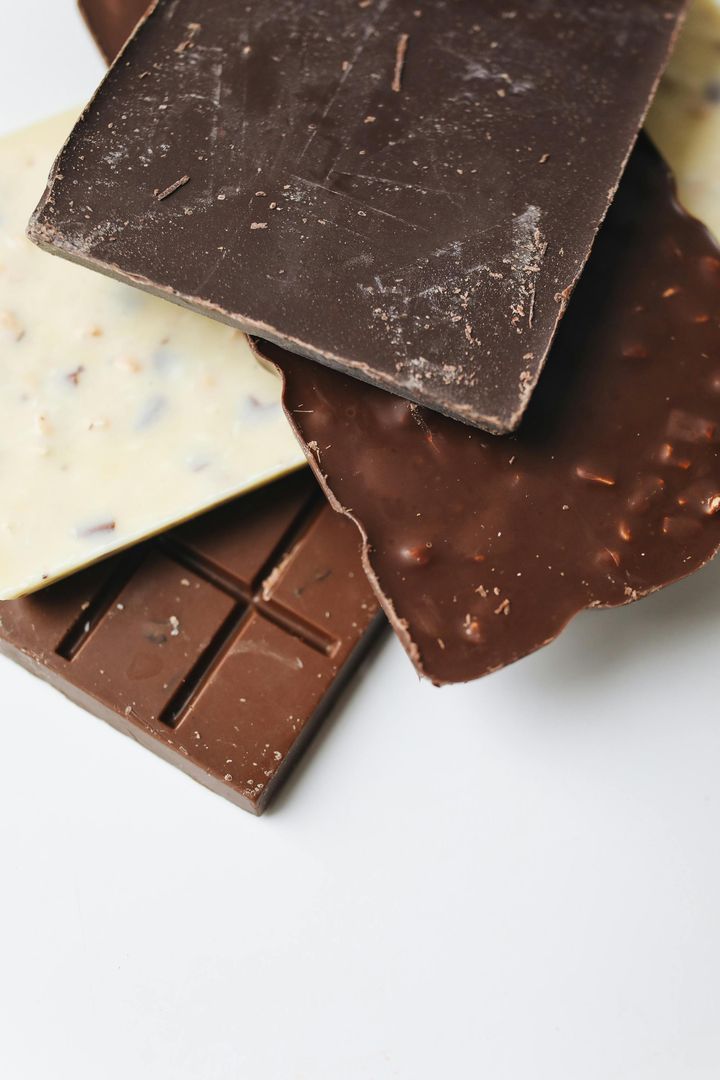
Tempering chocolate is a true art : few ingredients, a lot of technique. Its the key to obtaining a shiny chocolate with a firm bite, that doesnt melt immediately in your fingers. Whether youre making pralines, Easter eggs, or elegant decorations, without tempering the chocolate remains opaque and soft .
In this guide, youll discover what tempering is, why its essential , and four methods for doing it safely at home, even if youre not a professional pastry chef. #chocolate #tempering #artisanaldesserts #pastry #chocolates #basictechniques #gourmet #homemadechocolate #easyrecipes #professionalcooking #dessertdecorations #artisanalpastry
🎯 Why temper chocolate?
Chocolate is made of cocoa butter , which can crystallize in six different ways. Only one of these (the V form , called β5 ) is stable: it gives chocolate a smooth texture, a shiny appearance, and a loud “snap” when broken.
Tempering controls crystallization , favoring only the desired shape.
✔️ The advantages of tempering:
- Uniform gloss and color
- Crunchy to the bite
- No white halos ( fat bloom )
- Ease of demoulding from moulds
- Longer shelf life at room temperature
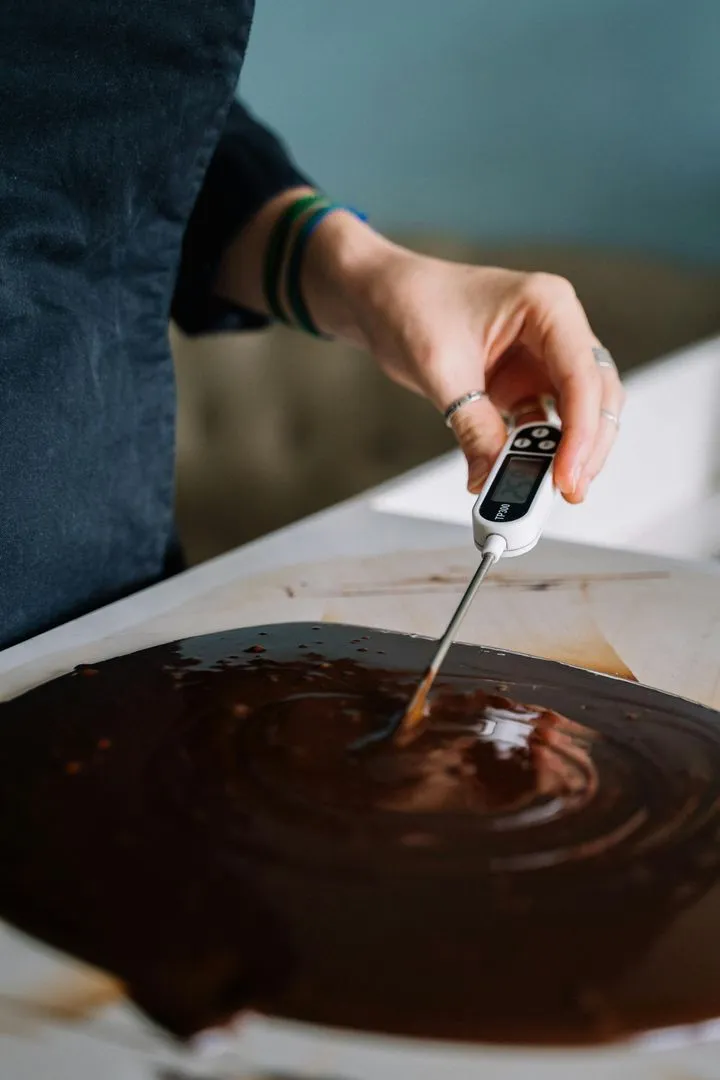
🔬 Ideal working temperatures
Type of chocolate Phase 1: Dissolution Phase 2: Cooling Phase 3: Processing Dark chocolate (70%) 45–50°C 27–28°C 31–32°C Milk 40–45°C 26–27°C 29–30°C White 38–43°C 25–26°C 28–29°C 🔧 Method 1: Homemade with bowl and pot (super simple)
The perfect method for those who only have a heatproof bowl and a pot.
You need:
- 200g chocolate (dark, milk or white)
- A small pot
- A steel or glass bowl
- Kitchen thermometer (optional but recommended)
How to do:
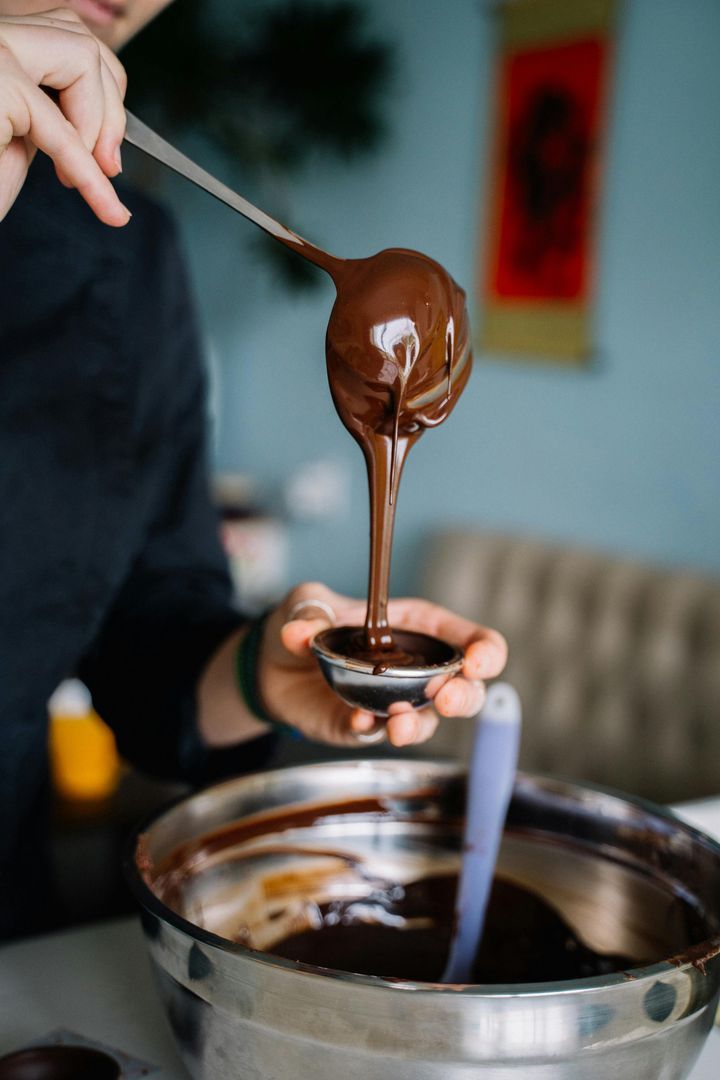
- Break the chocolate into pieces.
- Place a pot with a little water on the stove. Bring to a boil.
- Place the bowl with ⅔ of the chocolate on top: it must not touch the water !
- Melt gently to 45°C (dark) or 40°C (milk/white).
- Remove from the bain-marie. Add the remaining chopped chocolate (⅓) and mix until it reaches working temperature (31–32°C for dark chocolate).
- The chocolate is tempered and ready to use.
👉 Note : If you dont have a thermometer, look at the shine and do the teaspoon test (see below).
🔧 Method 2: By insemination (precise, without marble)
- Melt 70% of the chocolate.
- Add the remaining 30% chopped to lower the temperature and “inoculate” the stable crystals.
- Use when it reaches working temperature.
🔧 Method 3: For tablage (professional)
- Melt the chocolate.
- Pour ⅔ onto a marble surface and work it with spatulas until it reaches 27°C.
- Combine with the remaining hot chocolate, stir until 31–32°C.
🔧 Method 4: With Mycryo (the most modern)
- Melt all the chocolate.
- Cool to 34–35°C.
- Add 1% Mycryo (cocoa butter powder), mix: ready!
🧊 How to know if tempering was successful?
Do the teaspoon test :
- Dip a teaspoon into the chocolate.
- Leave it at room temperature for 3–5 minutes.
- If it hardens evenly, opaquely and smoothly: tempering successful!
🚫 Common mistakes to avoid
- ❌ Water in chocolate: it makes it crazy
- ❌ Overheating: above 55°C the cocoa butter spoils
- ❌ Do not stir during cooling
- ❌ Use wet or cold utensils
🍫 Chocolate Bar Mold – Create your perfect bar
Making homemade chocolate bars has never been easier! This high-quality, flexible, non-stick food-grade silicone mold allows you to create professional-looking, smooth, and well-shaped bars , ready to be customized with nuts, spices, or delicious fillings. Its heat- and cold-resistant, and is perfect for use after successful tempering. Easy to clean and reusable, its the ideal accessory for anyone who wants to create artisanal chocolate to give as a gift or enjoy at home.
amzn.to🧙♂️ Harry Potter Chocolate Mold – Magic in Every Bite
If you want to impress with elegant, enchanting pralines, this Harry Potter-inspired mold is perfect for you. Made of flexible food-grade silicone , its perfect for creating detailed chocolates featuring iconic shapes from the saga: from Harrys glasses and lightning bolt to the Golden Snitch and Sorting Hat. Thanks to the non-stick surface, the treats are easy to unmold and maintain a crisp, shiny appearance after tempering. An original idea for themed parties, magical gifts, or simply to bring a touch of Hogwarts to your kitchen.
amzn.to🍬 When to use tempered chocolate
- Chocolate molds
- Easter eggs and bars
- Elegant cake decorations
- Glossy coatings for cream puffs, biscuits, ice cream
🧠 In short
Tempering chocolate isnt difficult , but it does require precision and patience. The simplest method is using a double boiler and a bowl , perfect for those who want to start without professional tools. As you gain confidence, you can explore other techniques.
🎯 A well-tempered chocolate is shiny, crunchy and stable , just like that of the great masters.

gourmet
Data di inserimento 30 apr 2025
Report article
Comments
There are no comments yet.